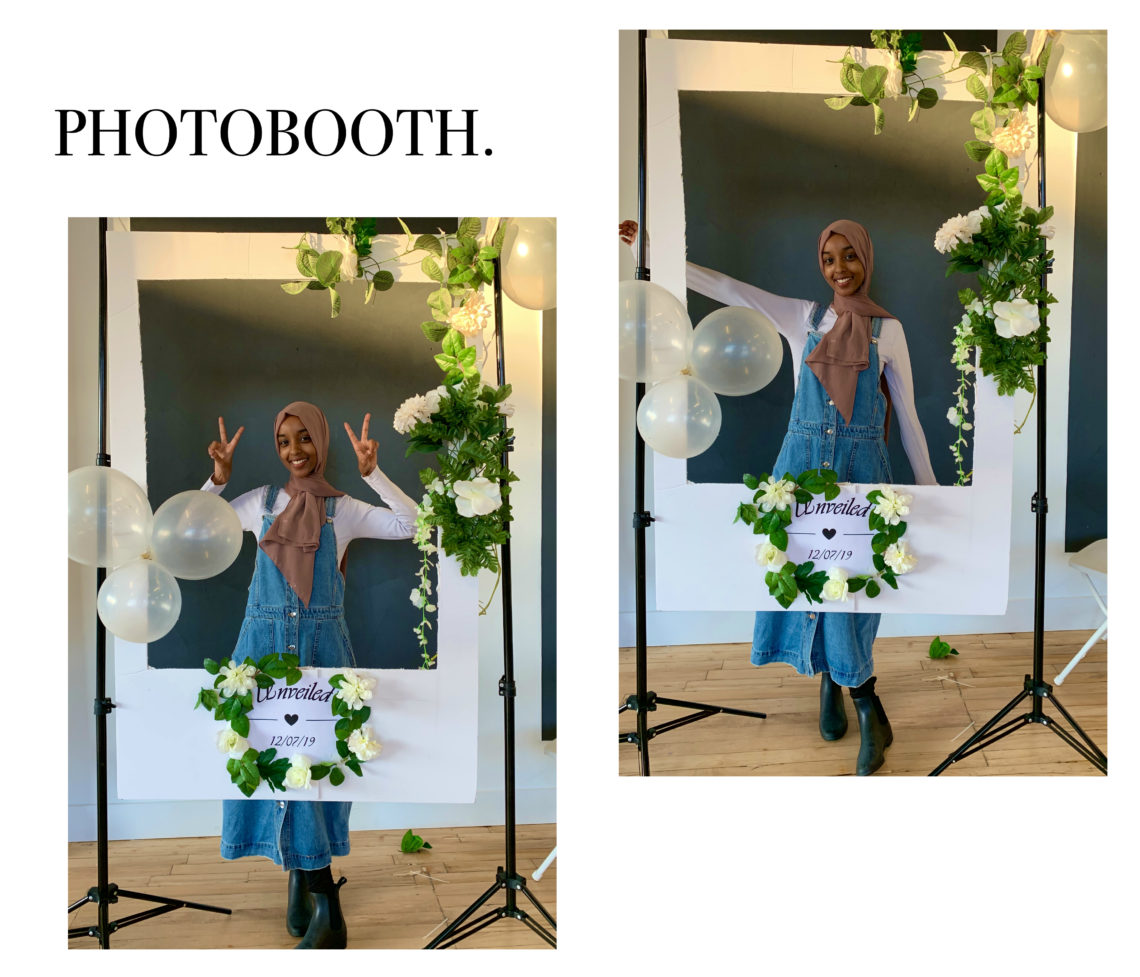
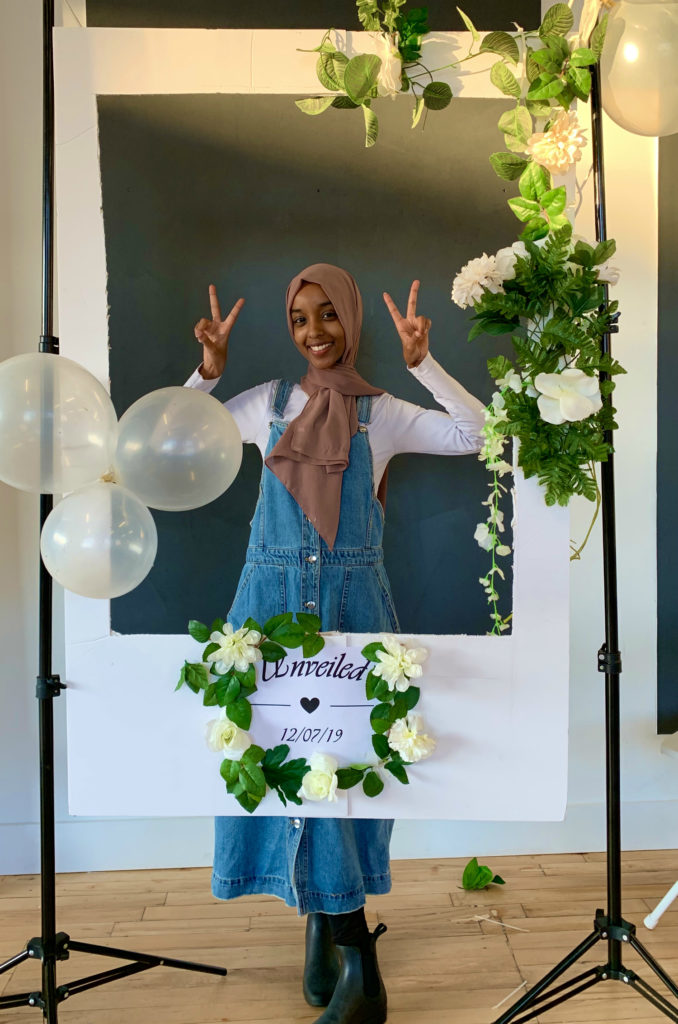
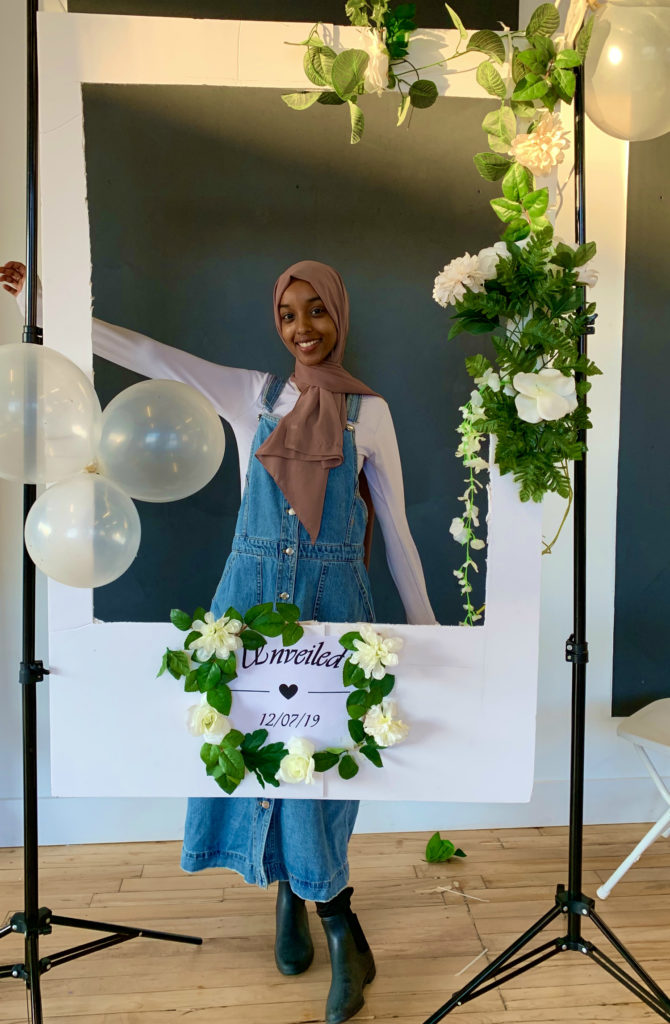
A Photobooth D.I.Y. (stand-less option too!)
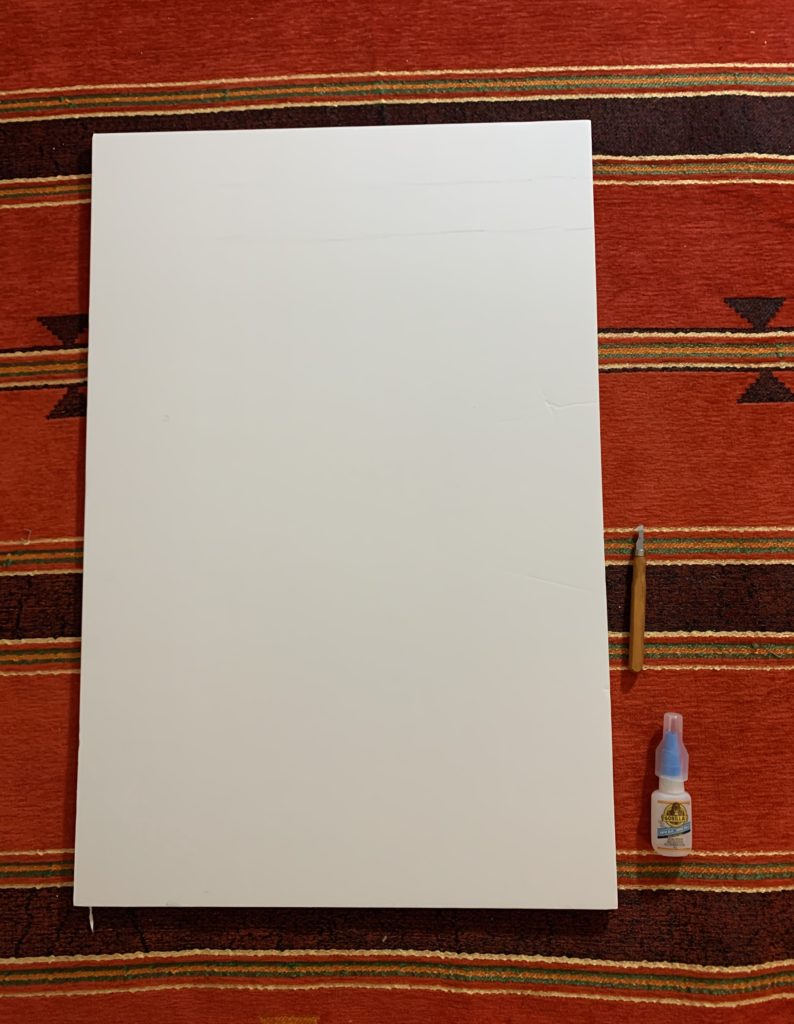
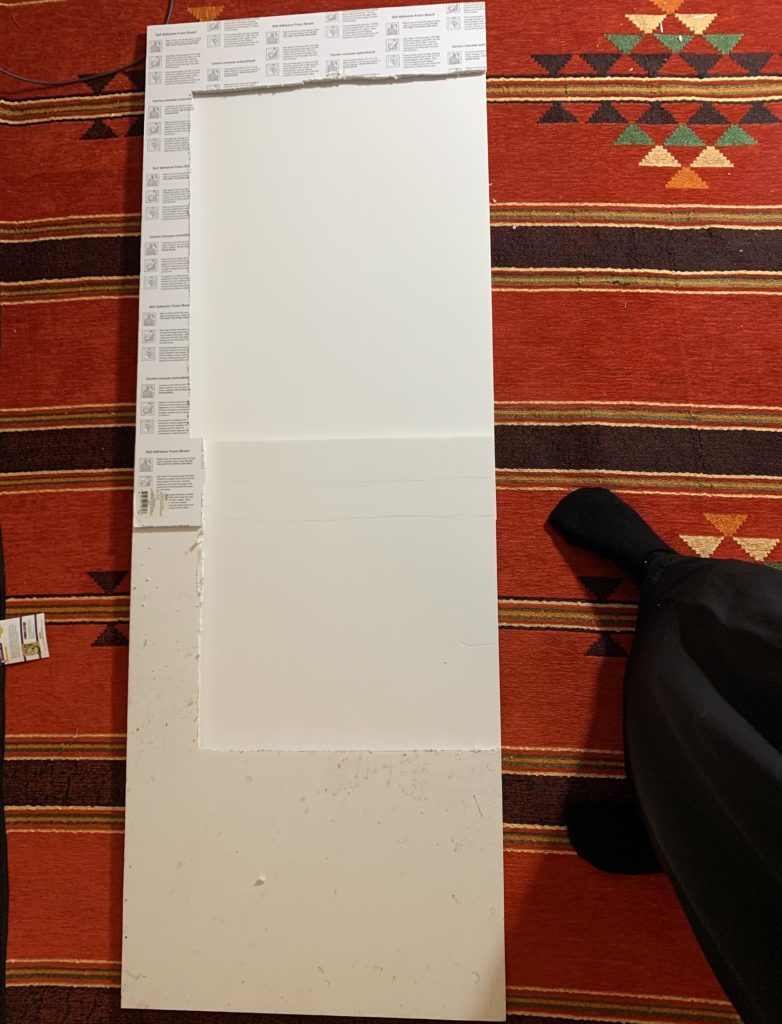
1. Foam board (amount depending on the size of photobooth you want, unfortunately for me the only size I could get was too small so I had to add 4 together)
2. Knife or box cutter
3. Gorilla Glue (or any heavy duty glue)
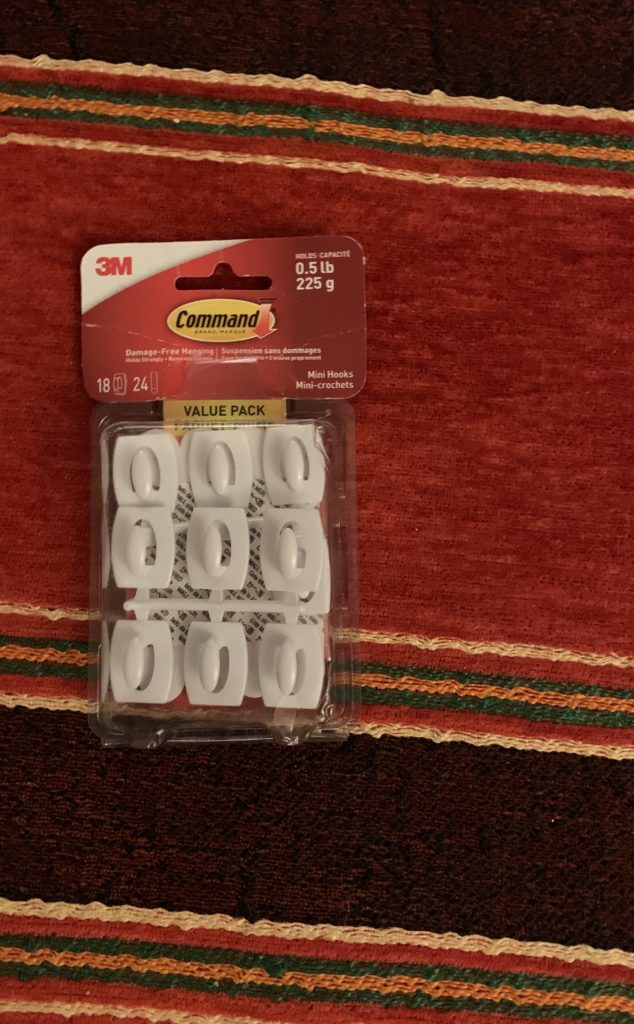
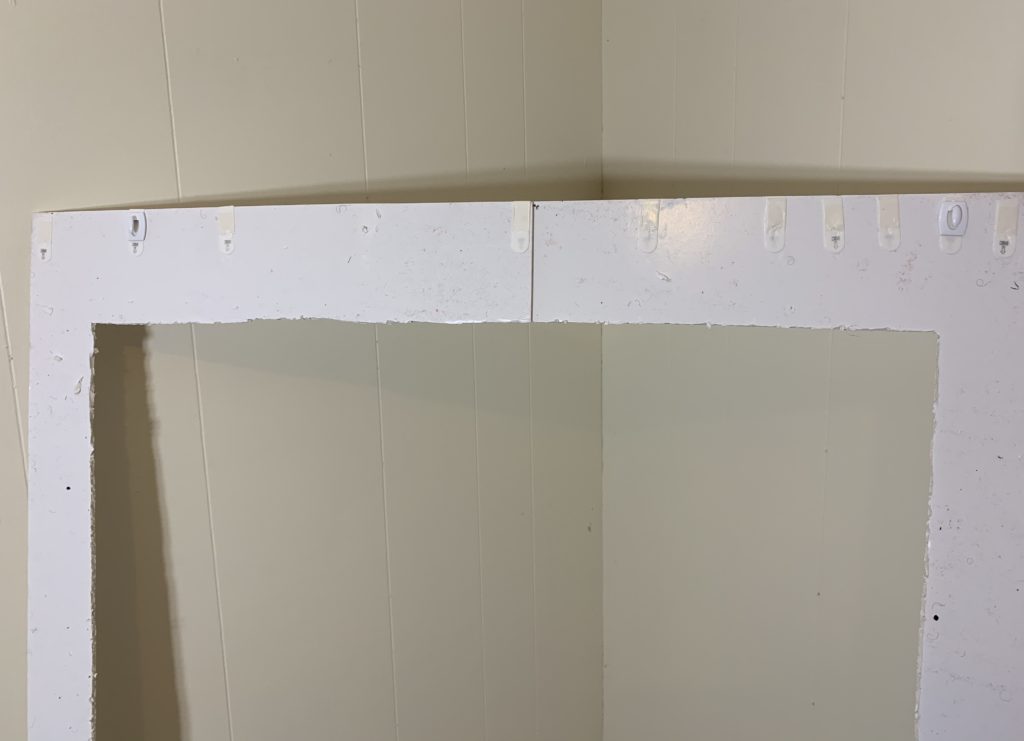
4. Adhesive hooks
5. Rope
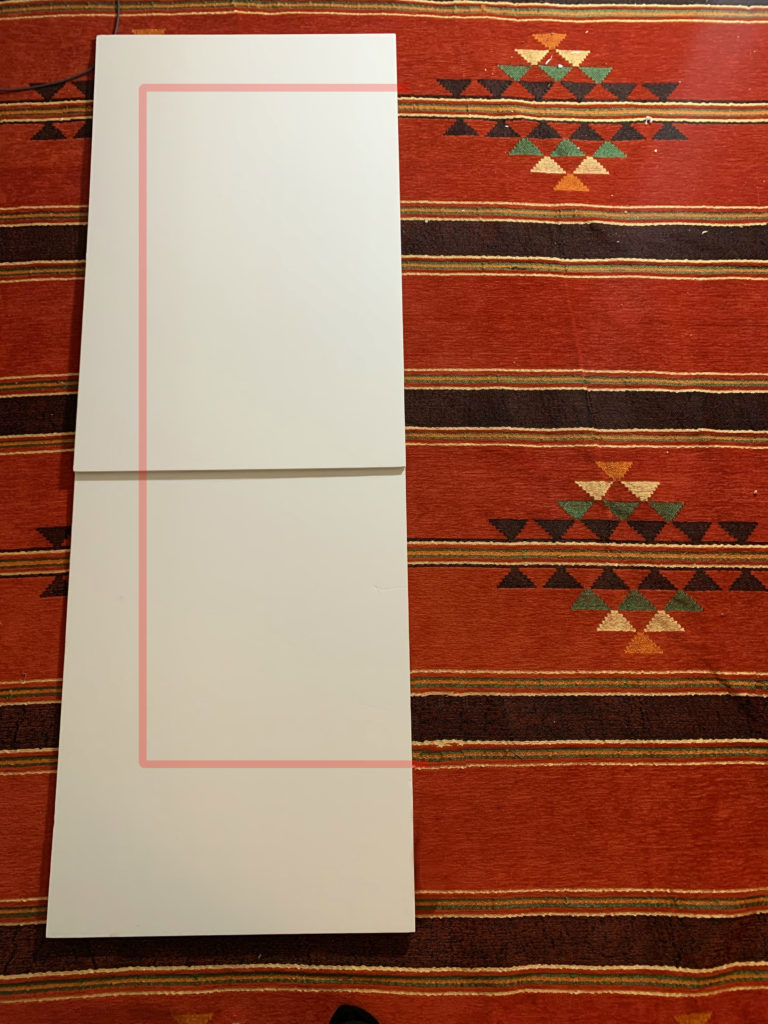
(this will be half the photobooth vertically so make sure you size the height accordingly)
Note: Do not use scissors!! it will not get a sleek cut. Make sure to use a sharp tool like a box cutter or a knife.

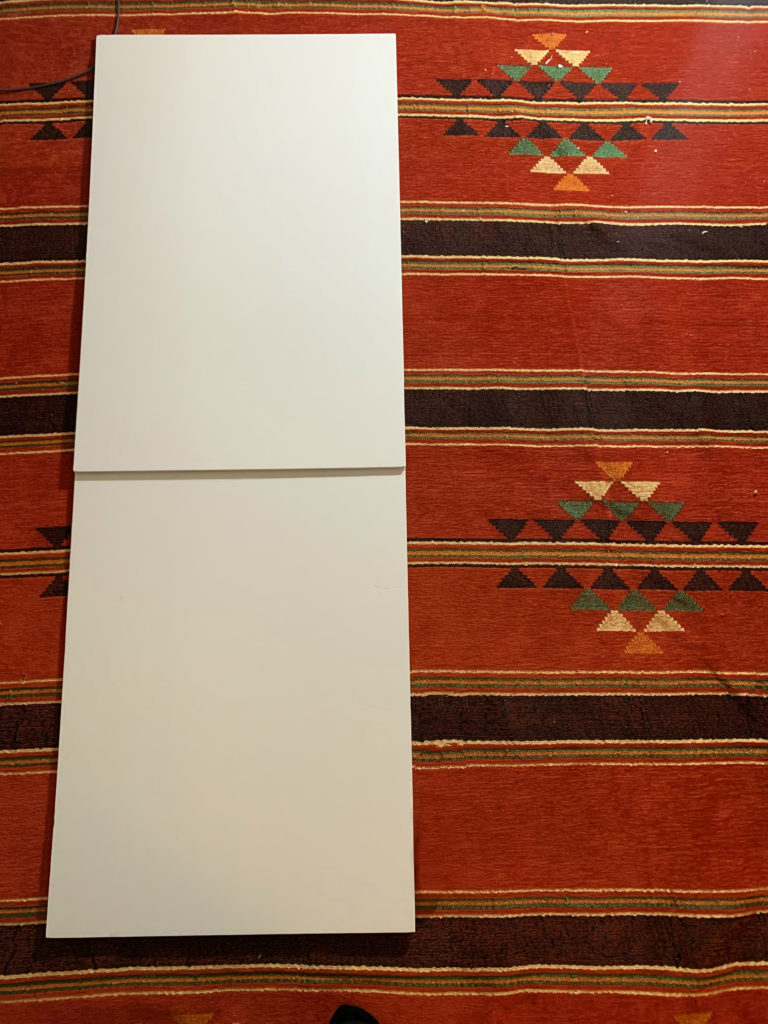
Once they are glued together take the completed half and flip it on top, then cut the new two pieces along the lines- this ensures they will be symmetrical
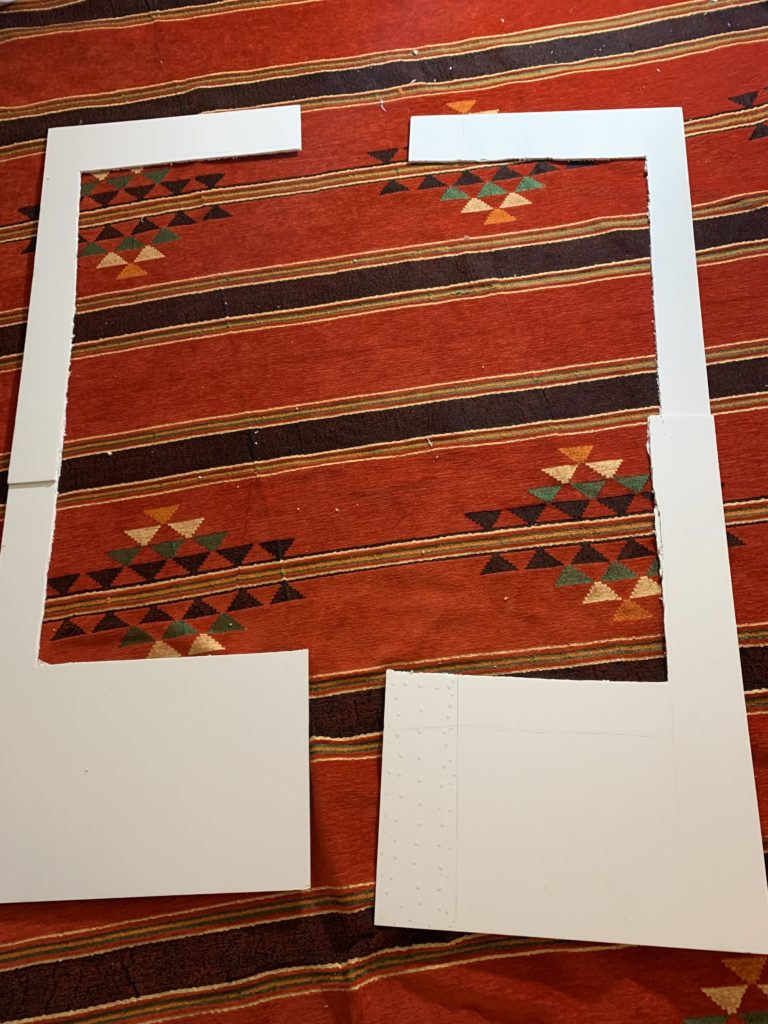
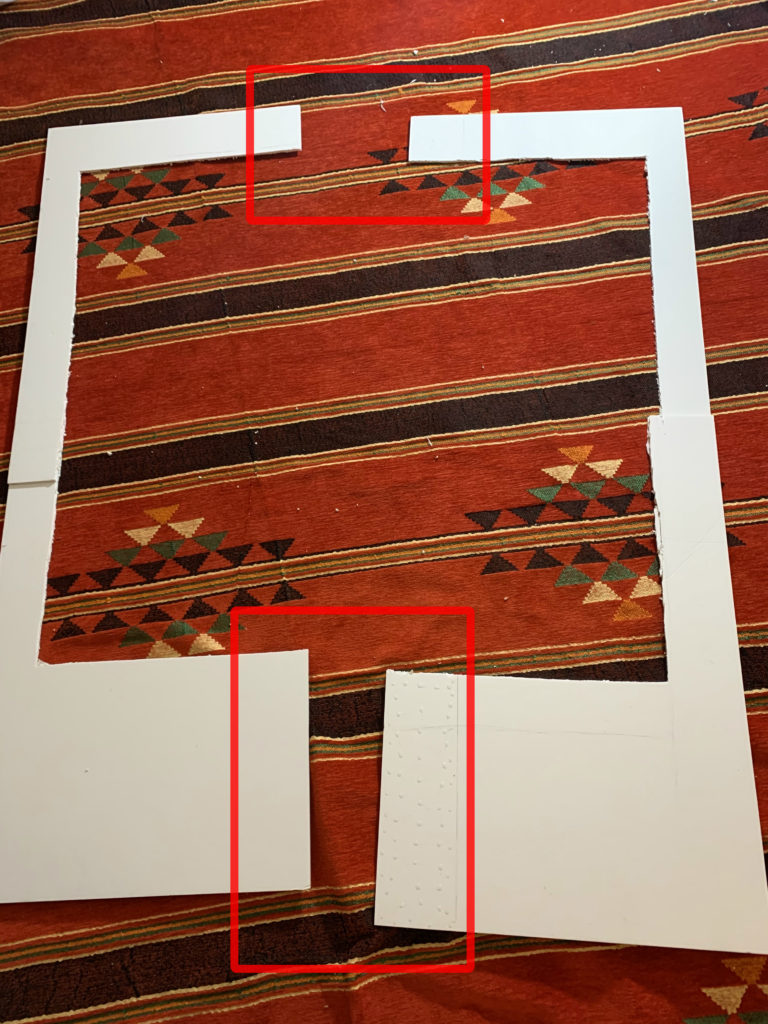
do this across the entire board (this picture only has two for illustration)
(you can use a doorway as well)

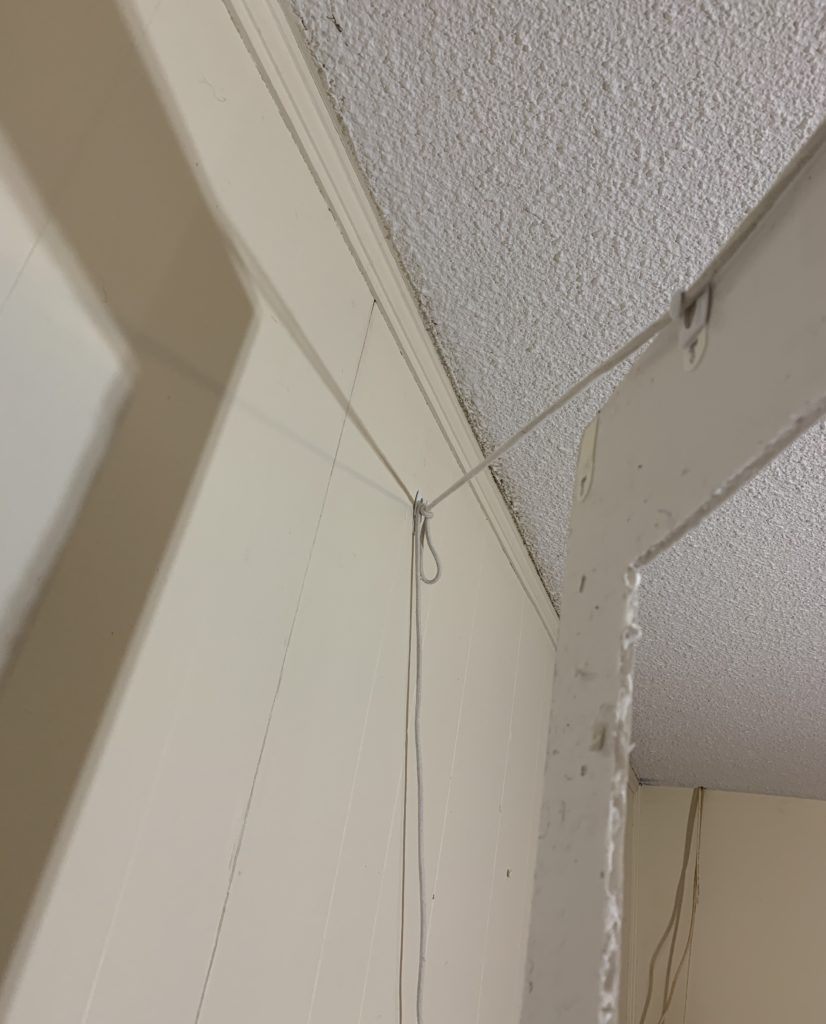
make sure the hook is tightly secured to the wall, and the rope is tightly secured to the hook
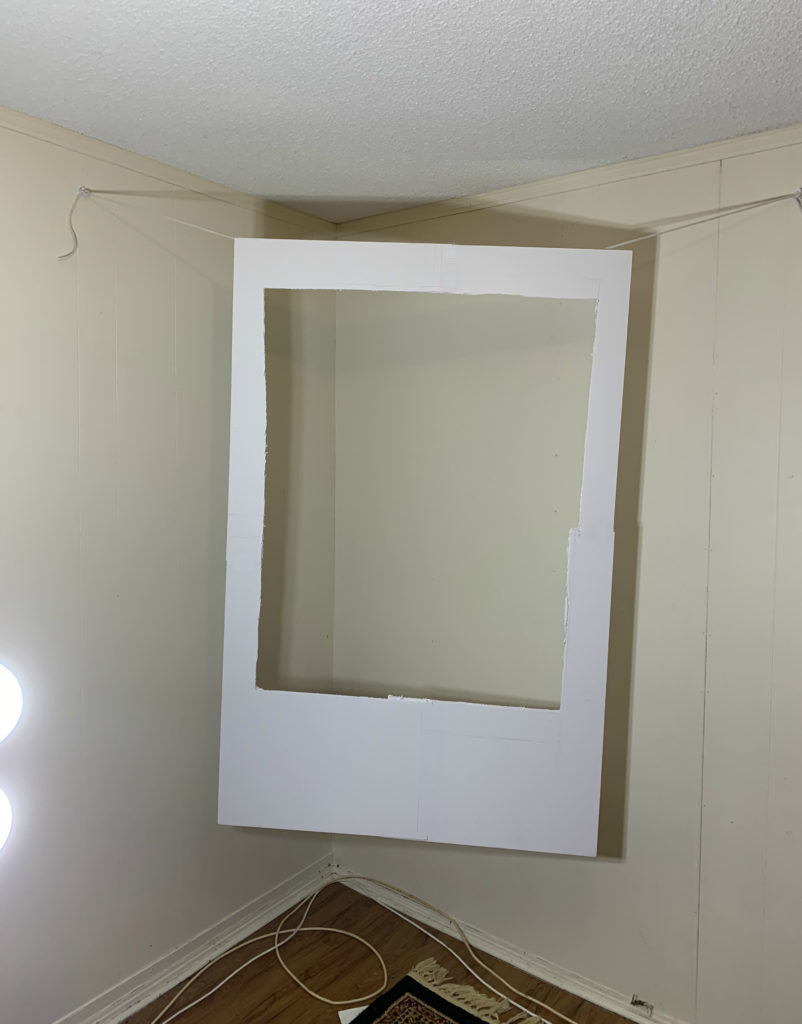
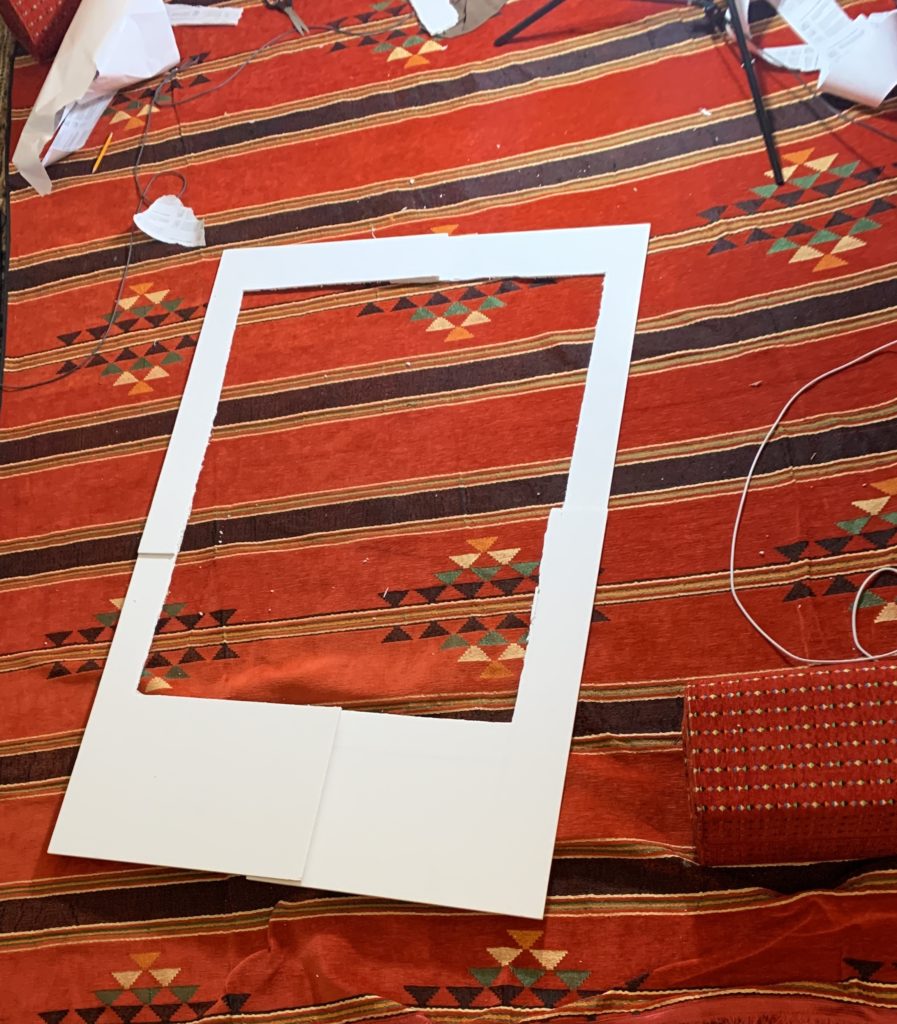
btw dont worry about the lines the decorations will cover them
Tip: If you don’t like the lines then you can take construction paper and cut out the same shape and glue it over
Hope you liked this DIY!!!!
